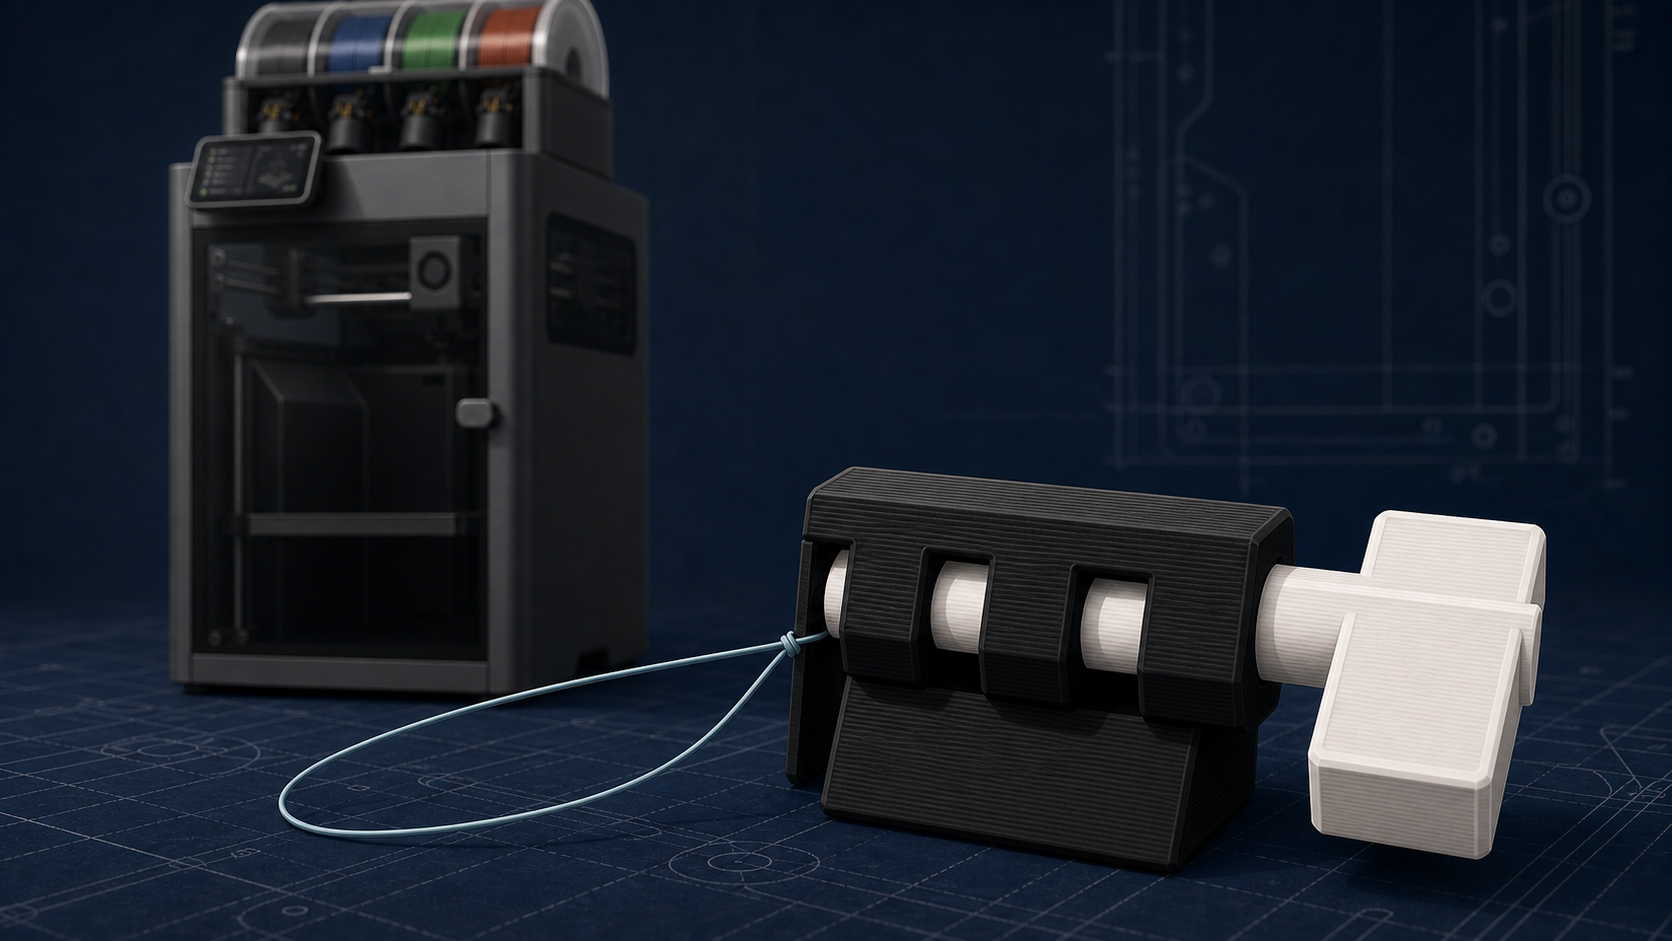
I’ve been eyeing up a 3D printer for years, but always found it difficult to justify the cost. Yes, there are cheap-ish models, but they generally come with their own hidden costs, such as time spent fiddling with settings to get good prints. I have plenty of other things to waste my time on already.
I’ve also had to question whether I’d get enough use out of one to justify the cost. I’m not into making miniatures and so on, not that there is anything wrong with that. My interest was always more around practical parts, useful household fixes, and, if I’m honest, the hobbyist factor.
After years of putting it off, I finally took the plunge and purchased a Bambu Lab X2D. I’m genuinely amazed by how easy it has been to use, and by the quality of the results. Granted, I have limited experience with other 3D printers, but this feels as close as you can get to plug and play.
So I’ve been making my way through the backlog: a new air-conditioning exhaust hose holder, stands for various lights around the house, microphone stands, and other bits that are too specific to buy but annoying enough to want fixed.
The community around 3D printing is excellent, and there are so many models made available for free. But I had a need for something that didn’t seem to exist.
The goal
The problem was simple, and my solution was probably a bit overkill. I needed to remove two headphone holders from a sensitive surface, and also remove the blind spot mirrors that the previous owner had stuck to the wing mirrors of our car.
I didn’t want to scrape either of them off and risk damage, and I didn’t want to pull too hard using floss or fishing wire. In fact, I’d already tried using 20kg-rated fishing wire, with heat, on the headphone holders and it snapped. 3M VHB pads should not be underestimated.
So my mind turned to a mechanical tool. The problem was that I didn’t really have any experience with 3D modelling. A friend recommended Autodesk Tinkercad, which at first looked like a “my first 3D modelling” tool. That was pretty fitting.
Tinkercad leans heavily on boolean-style modelling, where you build objects by combining simple shapes and cutting holes out of them. My brain found this instantly familiar. Even though the thought of 3D modelling had not appealed to me before, I found myself enjoying it far more than expected.
I have quite a lot of experience using vector illustration tools like Illustrator, Inkscape, and Affinity, so a lot of the concepts felt familiar. Before I knew it, I had the key idea together.
The plan was to use mechanical leverage. I wanted a “key” that the fishing wire could attach to and wind around, letting the holder take the load rather than pulling directly against the surface it was attached to.
The build
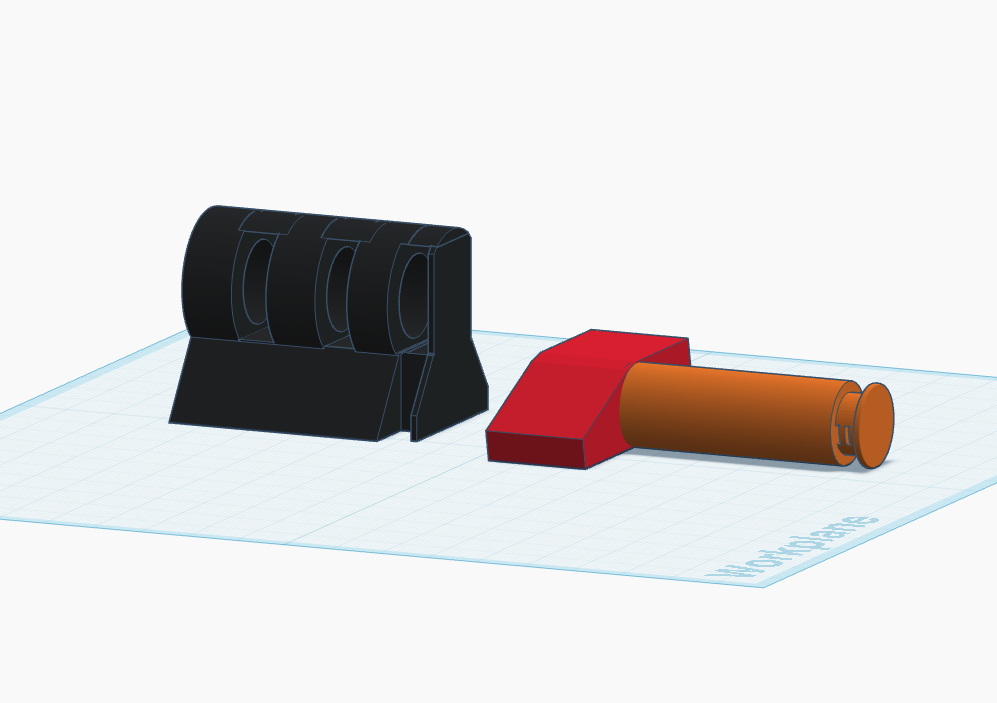
This is the final model I ended up with. The key fits into the hole on the holder and is free to twist. The end of the key has slots that fishing wire or dental floss can be tied through. The holder is placed against the object, the wire goes around the adhesive pad, and then you twist.
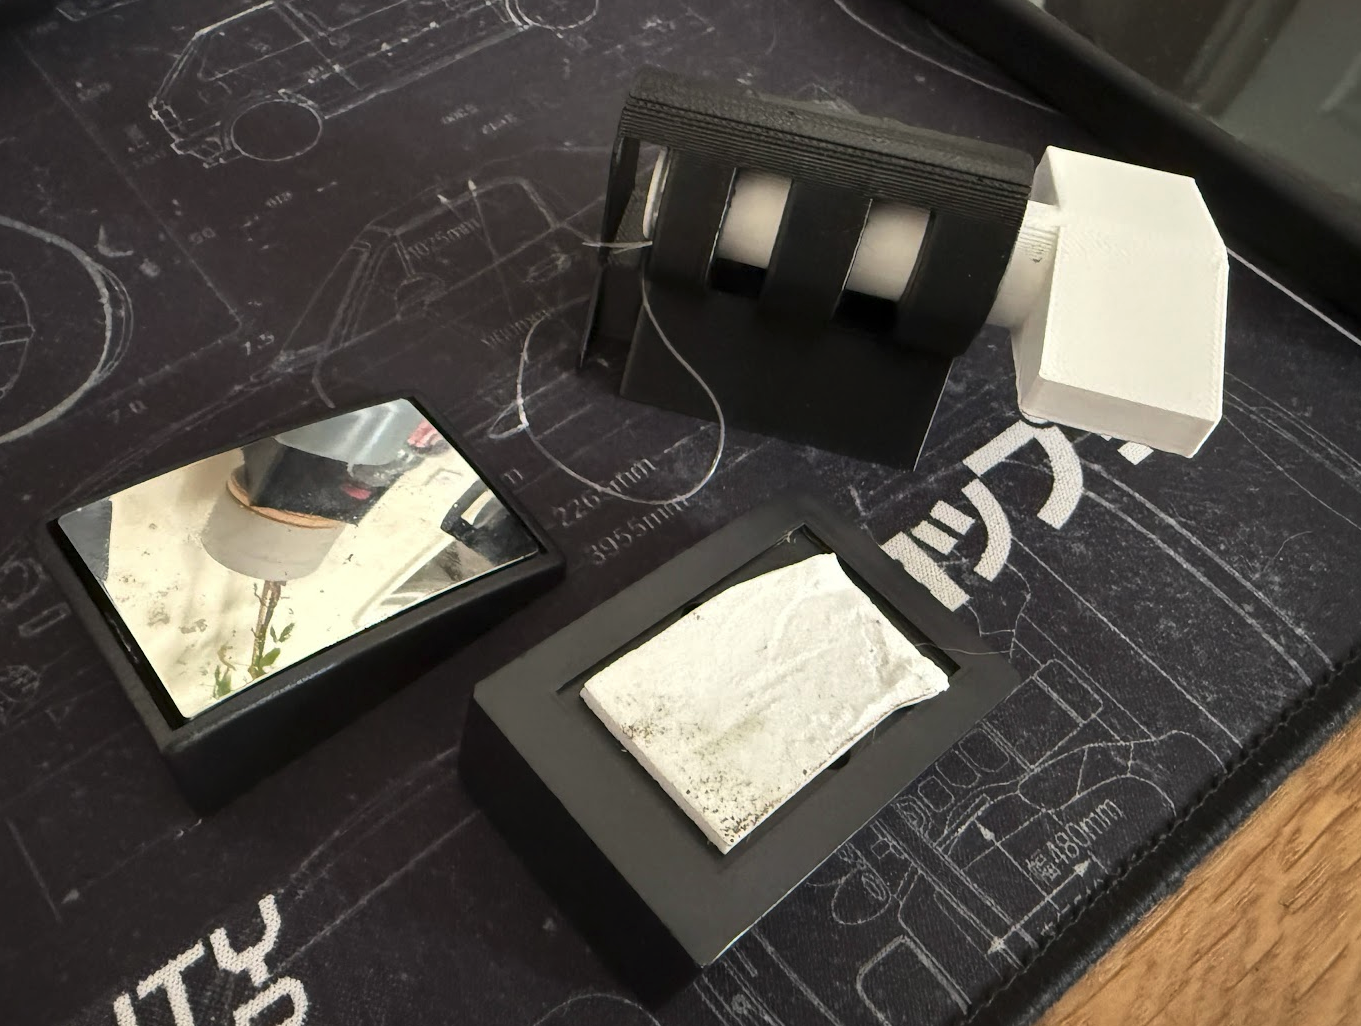
So, how did it work? Brilliantly. No cut hands from the fishing wire, no damaged surfaces, no broken glass, and the pads were cut through. The only tricky remaining bit was removing the leftover glue, which isopropyl alcohol cleaned up safely.
Did it work first time? No. Not at all. The first attempts were close, but they had a few issues to work through. That was more enjoyable than I expected.
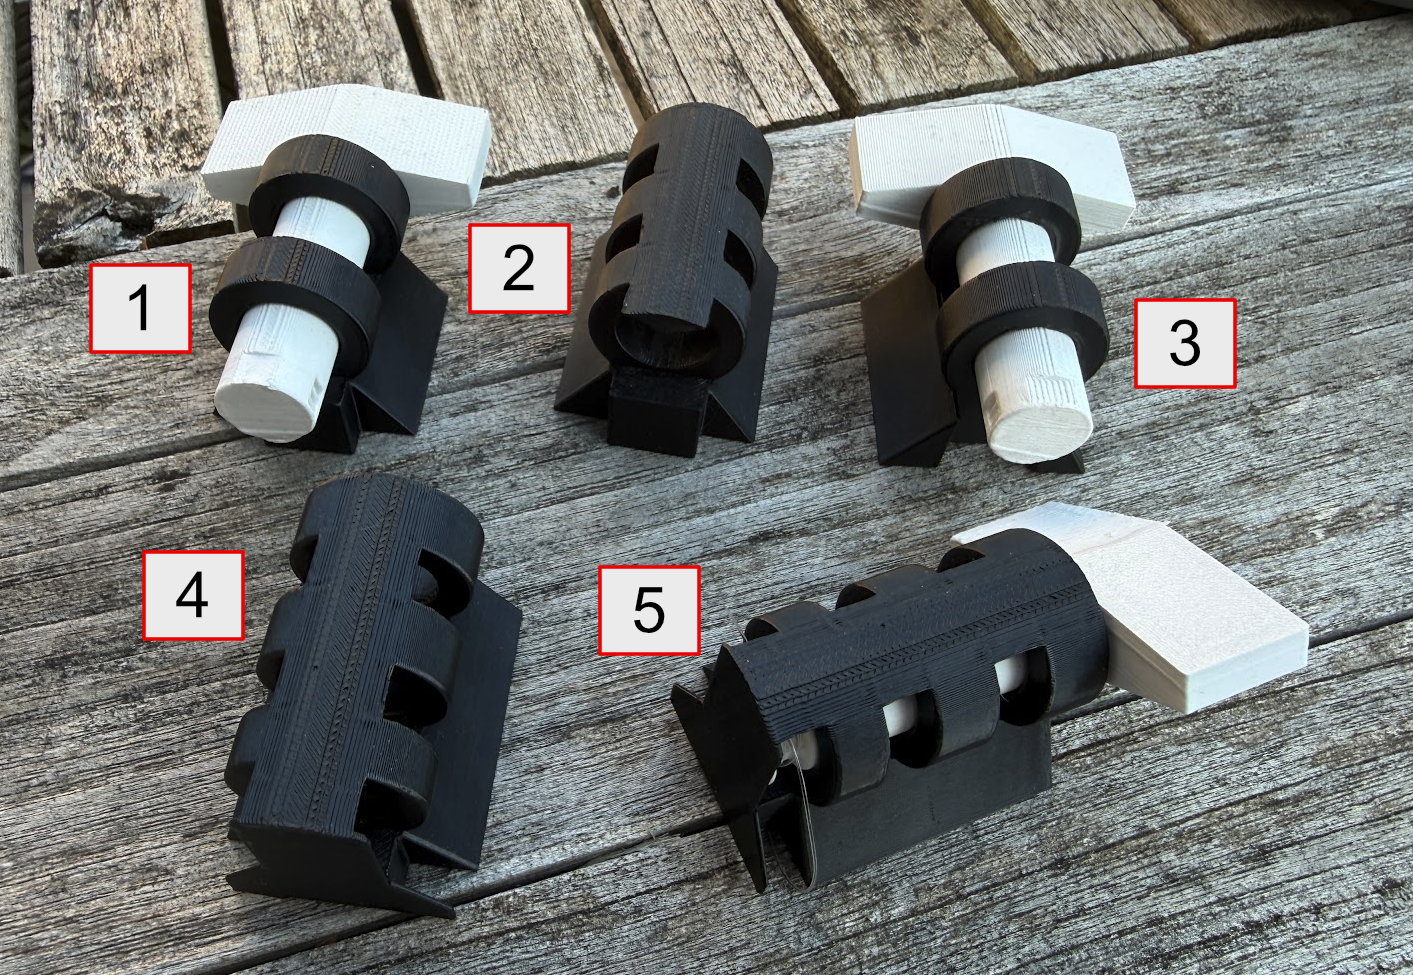
My failure list:
- The wire wouldn’t stay on the end of the key, and the holder was unstable.
- The holder was more stable, but the wire still wouldn’t stay on the end of the key.
- Another failed attempt where the wire wouldn’t stay on the key.
- The key gave way under stress and damaged the holder.
- The final version did the job.
None of those failures were dramatic, but they were useful. Each print made the problem more visible. A slot needed to be deeper. A wall needed more material. A shape that looked fine on screen behaved differently once force was applied to it. That feedback loop was the interesting part.
Was it worth it?
To me, yes. Not only did the task get done, but I learned some new skills in basic 3D modelling, slicing, and using the printer itself.
I’m not sure if the model is good enough to share yet. It still has some rough edges, even though it did the job. I may tidy it up and release it at some point, if only to give something small back to the community that has already saved me a lot of time.
The most satisfying part was making something digital and watching it turn into something physical. I spend so much of my time building things on computers that you can’t hold or interact with away from a screen.
Going from concept, to model, to print, to working tool gave me an unexpected dopamine hit. It also reminded me that a lot of the problem-solving muscles are the same ones I use in software: understand the constraint, make the smallest useful version, test it against reality, and iterate.
This won’t be my last.